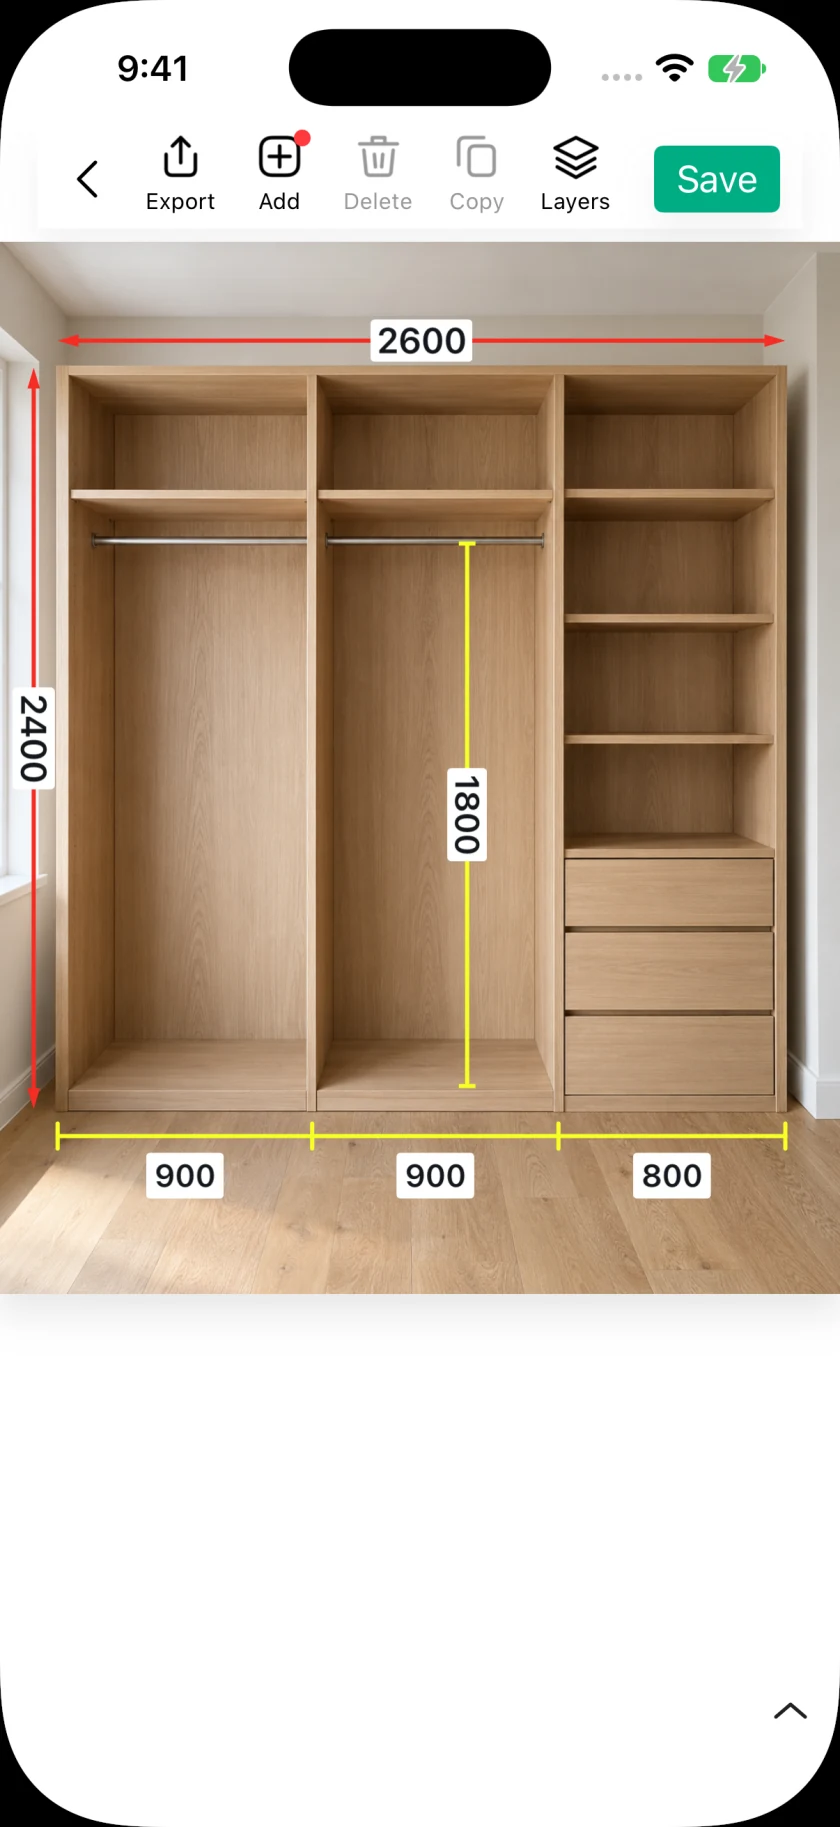
A product photo shows shoppers the design; a dimension image helps them judge whether it will fit their space or their needs. Use SizeSnap to place measured width, height, and depth beside the parts they describe. A separate size image can be useful for bags, furniture, storage boxes, and other physical products. The tote bag and values shown here are illustrative examples, not a real customer listing.
Step by step
- 01
Measure the exact product or variant
Use a tape measure or another suitable tool to measure the actual item. Decide what each value includes: for a bag, body height and height including handles are different measurements. Check each variant separately instead of reusing the numbers from a similar product.
- 02
Choose a clear product photo
Import a well-lit image into SizeSnap. Keep the background quiet and show the relevant edges. A front view works for width and height; use a side or three-quarter view to explain depth. Put different views on separate pages when one photo would become crowded.
- 03
Add dimension lines and visible units
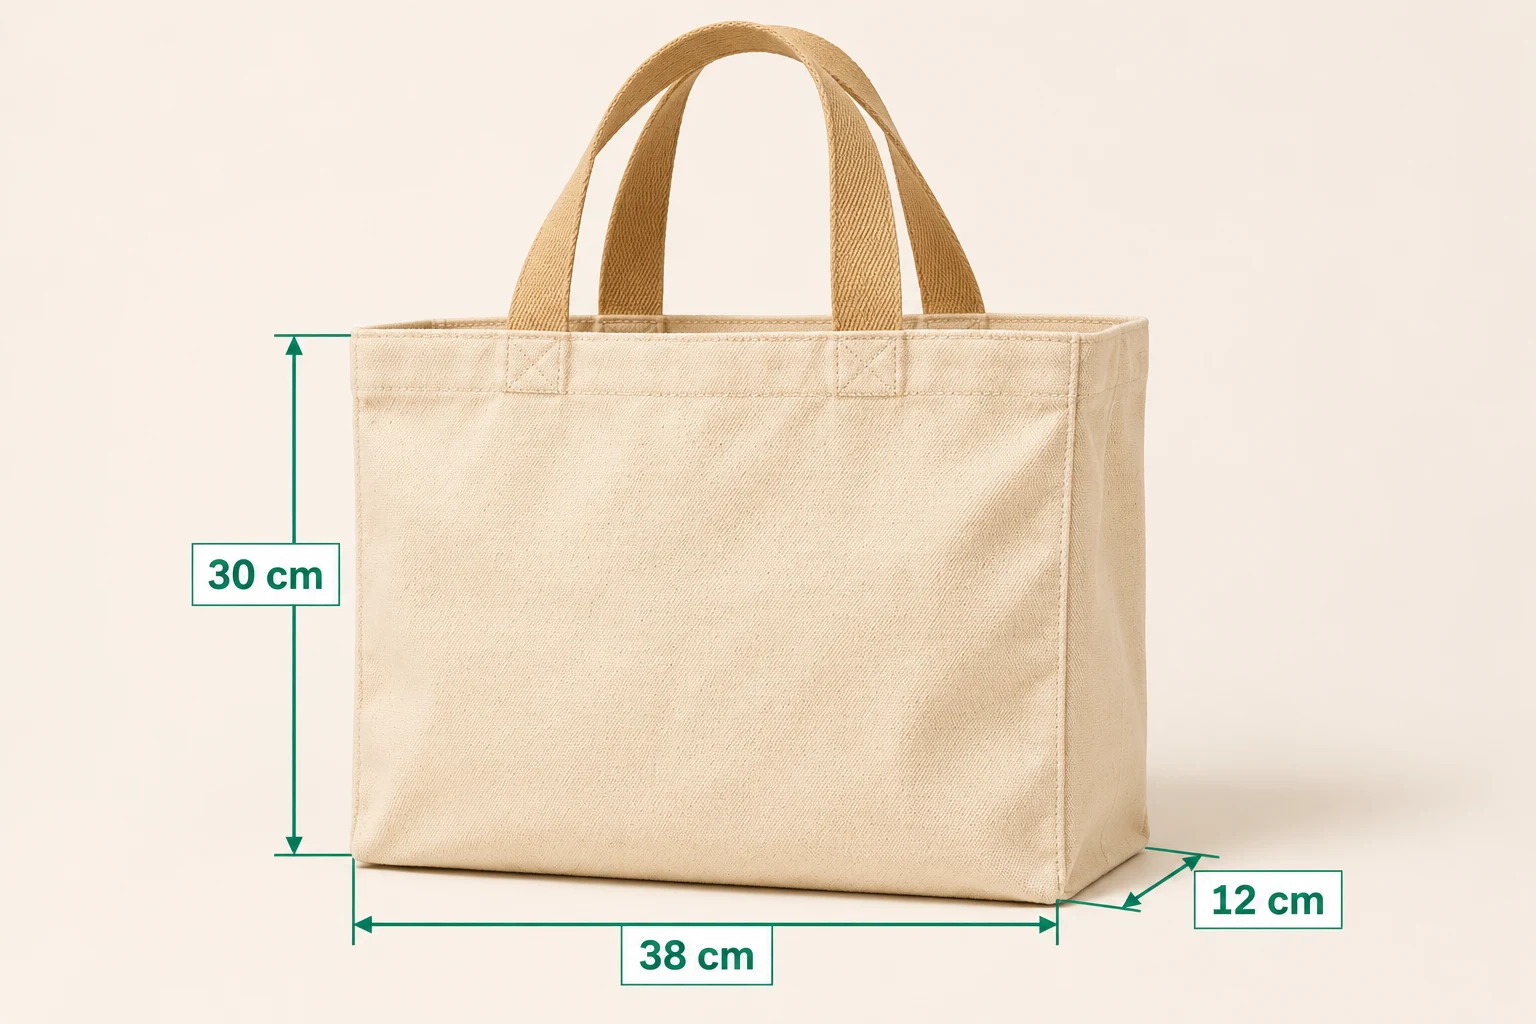
Draw ordinary dimension lines between the relevant edges, then enter your measured values. Keep labels outside the product where practical. Use a consistent unit and include it in the labels or a clear note. The example uses 38 cm, 30 cm, and 12 cm only to demonstrate the layout.
- 04
Explain what the numbers include
Add a short note for details such as “body height, excluding handles” or an internal opening. Adjust line color, text size, and label position so they remain readable against the background. If you provide converted units, check both the value and unit before sharing.
- 05
Export and check the listing image
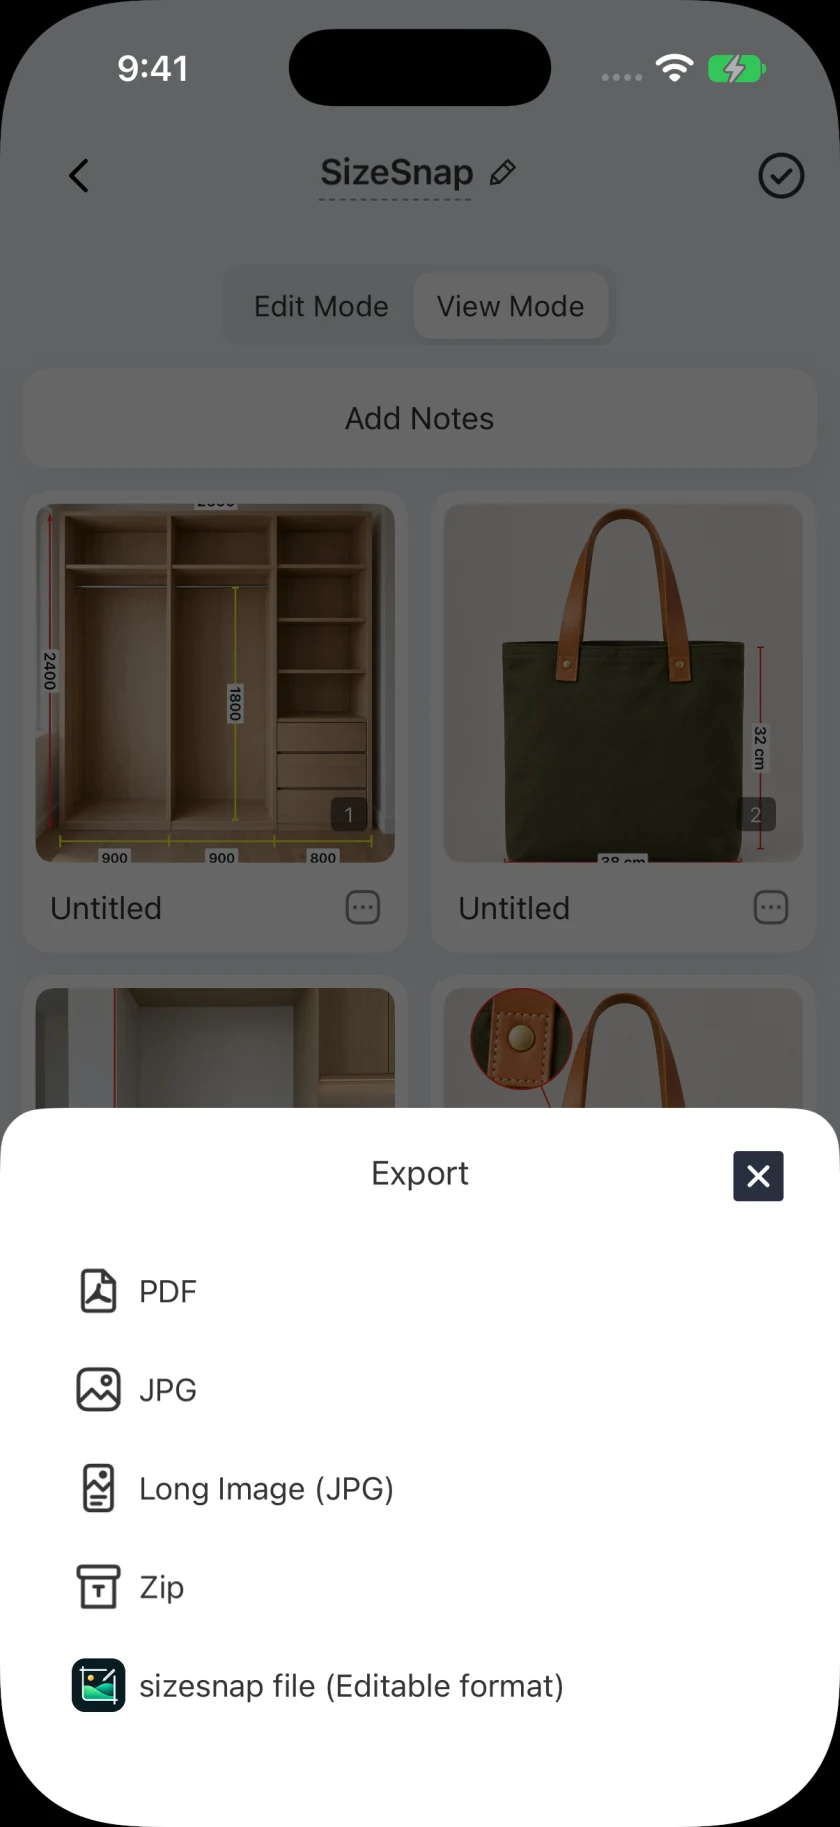
Save the editable project, then export an annotated JPG for use in your store’s image workflow. Inspect it at the size shoppers will actually see, including the small mobile thumbnail. Keep an unannotated product image as well, and revise the source project whenever the product measurements change.
Good to know
Enter real measurements, rather than guessing from the photo
This workflow records the measurements you supply. It does not automatically identify a product or discover its real dimensions from an arbitrary photo. A perspective view is useful for illustration, but it is not a substitute for measuring the item.
Check access and the finished export
SizeSnap is free to download with optional Pro features. Watermark-free saves and selected advanced tools require Pro. Review the exported image, units, and any notes before uploading it through your own store or marketplace tools.