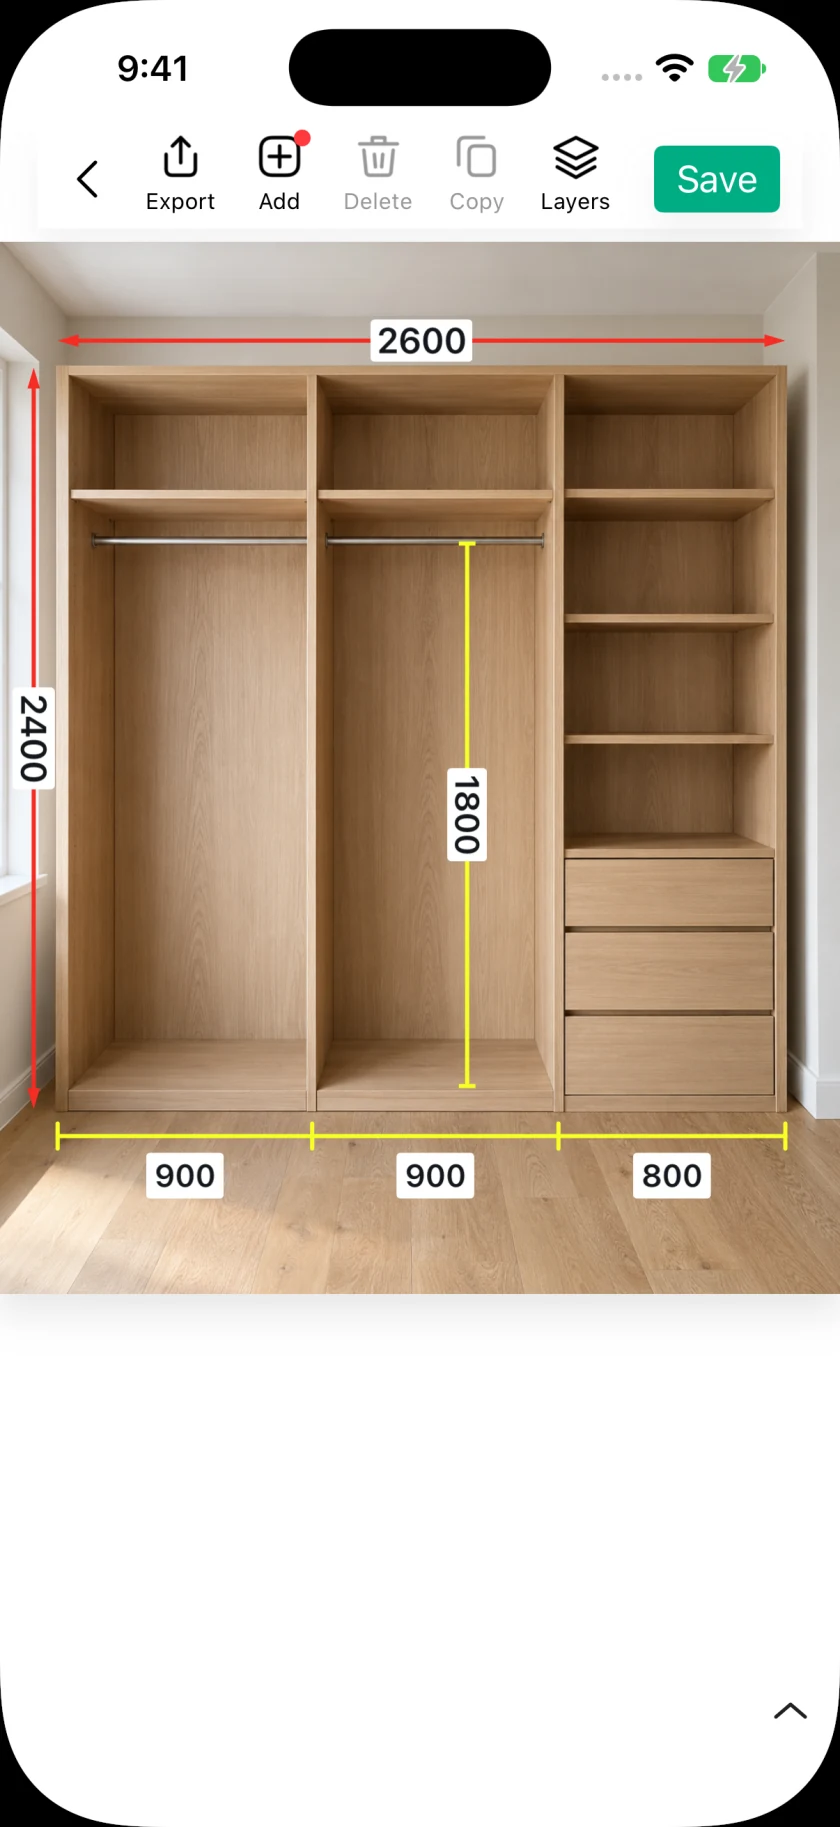
Cabinet work often needs an overall width, several section sizes, and a few details that are easy to miss in a text message. Keep those measurements beside the features they describe. SizeSnap provides ordinary, chain, and baseline dimensions, plus notes and detail annotations, so a photo record can explain both the whole arrangement and the location of individual parts. The pictured dimensions are illustrative examples.
Step by step
- 01
Create a record for the job
Give the document a recognizable project name and group related documents in a folder. Import an overview photo and close-up images as separate pages where useful. This keeps a single cabinet elevation from becoming a pile of overlapping notes.
- 02
Mark the overall dimensions first
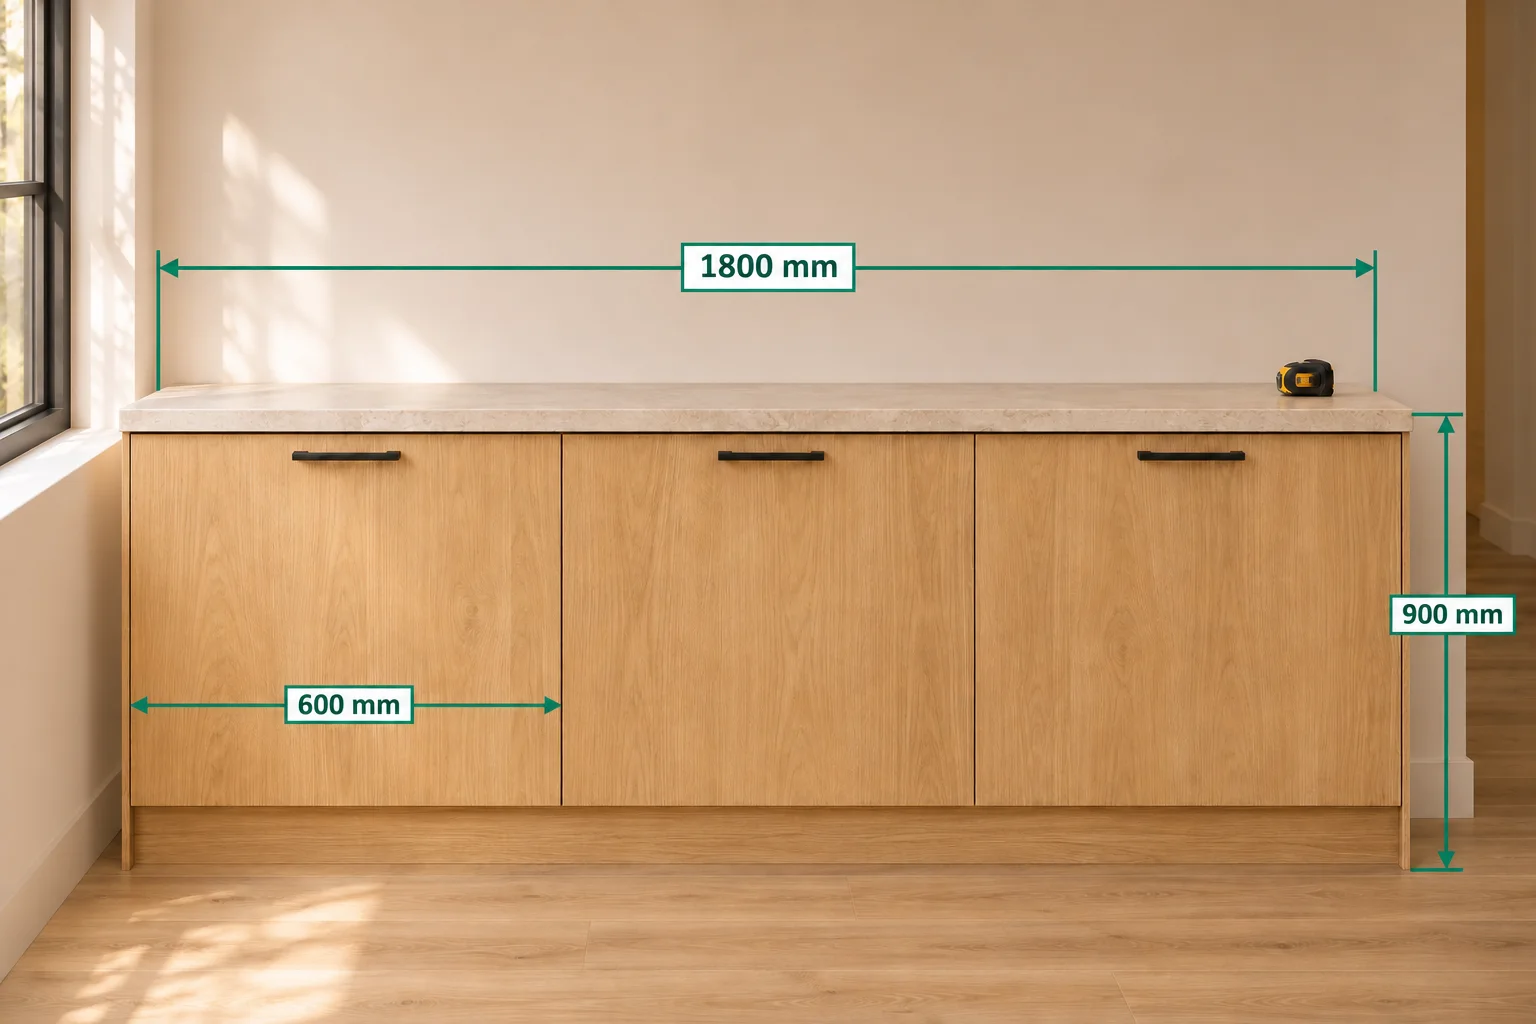
Measure the opening and add its overall width and height to the overview. Place the lines outside the object where possible. Identify the exact surfaces used as endpoints so a finished face, an opening, and an internal clearance are not confused.
- 03
Choose chain or baseline dimensions
Use chain dimensions to describe adjacent cabinet sections. Use baseline dimensions when positions are measured from a common reference. Enter the values taken on site and check each label; these annotation types communicate your measurements rather than certifying that a cabinet will fit.
- 04
Add the installation context
Use arrows and text for services, access openings, or the side a measurement refers to. A detail magnifier can make a small area easier to explain. Keep close-up measurements on their own page when they would crowd the overview.
- 05
Review the handoff
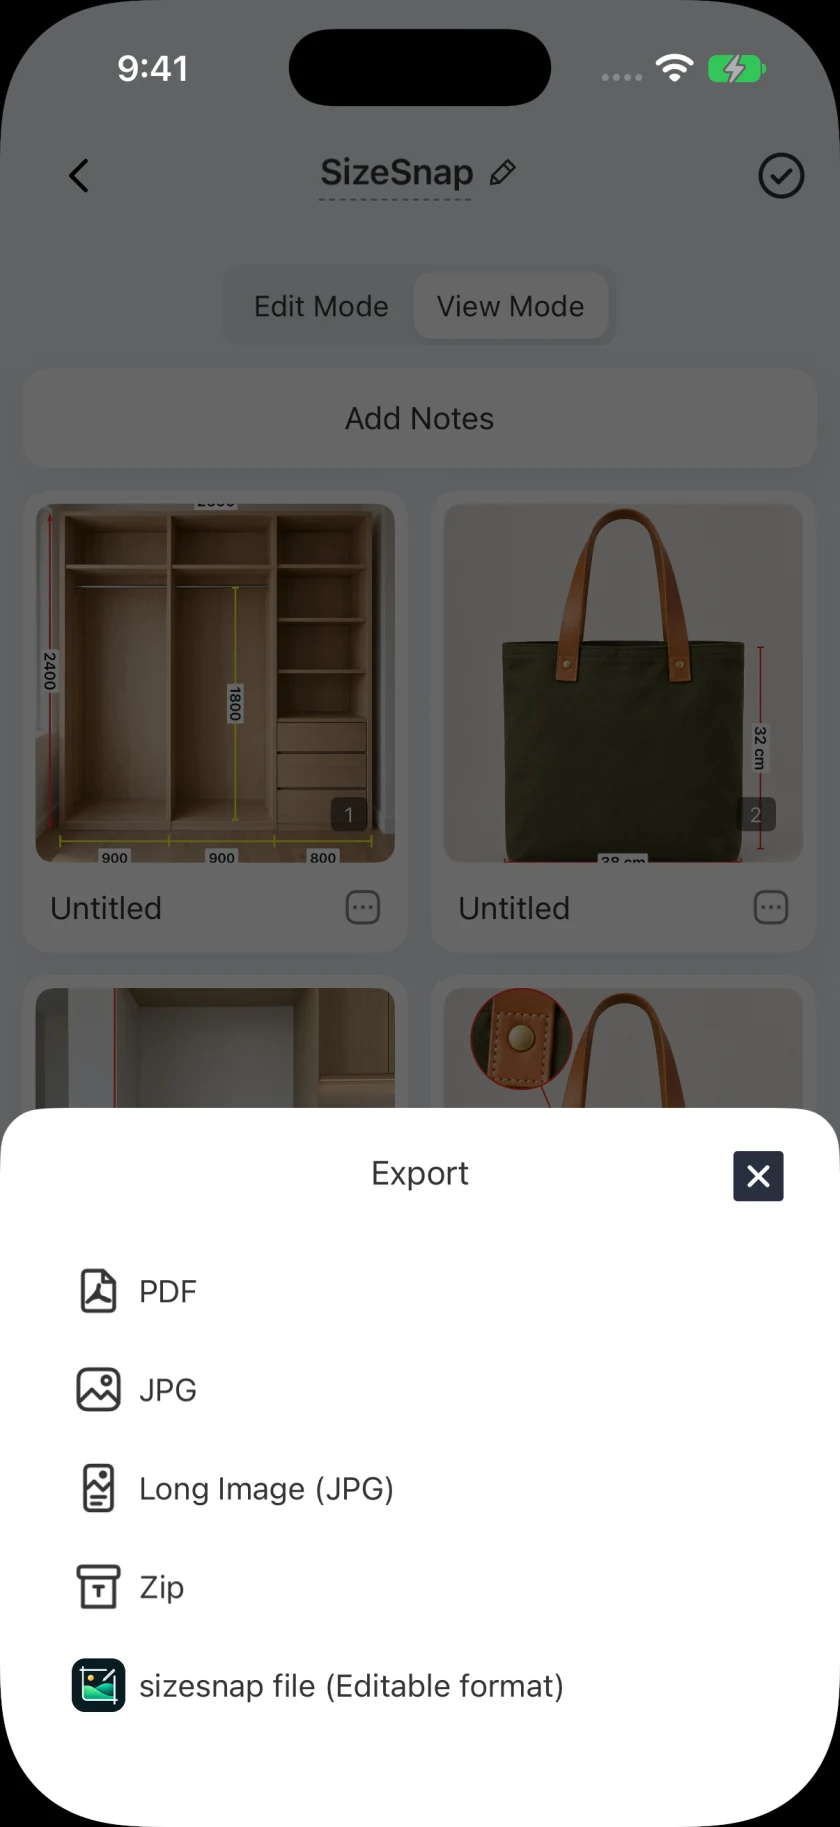
Check units, missing values, labels, and page order before exporting a PDF or annotated JPGs. Save the editable project for later changes. If a revised measurement affects the work, update the record and clearly identify the replacement copy when sharing it.
Good to know
A clear record still needs real site checks
A photograph may hide an out-of-square wall, uneven surface, or difference in depth. Measure the clearances and conditions relevant to the job with suitable tools. Treat the visual record as a way to communicate those checks, not as a fabrication approval by itself.
Advanced annotations and exports
Chain dimensions, baseline dimensions, and detail magnifiers are Pro tools. Folder export and larger batch exports also require Pro. A document can contain multiple photo pages; the free batch limit counts documents, not the number of pages within one document. Check the current in-app options for your workflow.